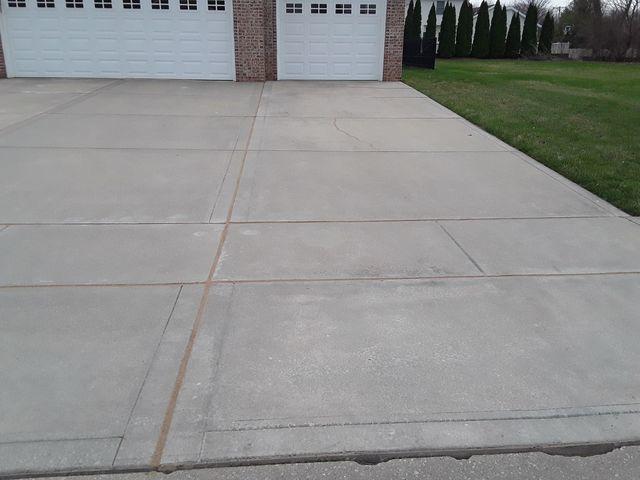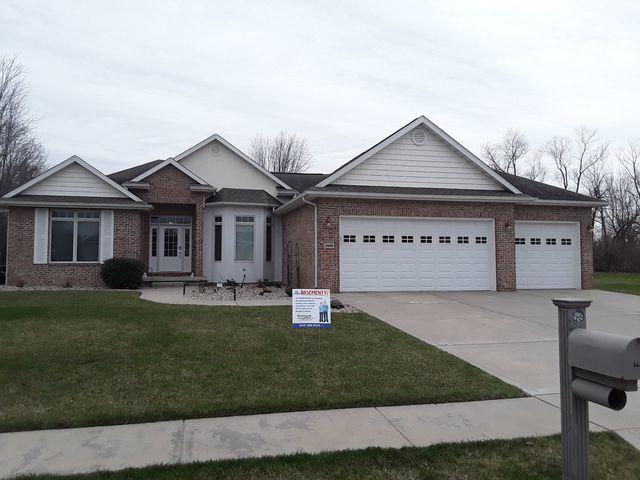
Driveway Before Repair
The driveway slab was sinking and also had several cracks that we would later seal/

Uneven Concrete
Here is a better look at the driveway and walkway, and how uneven it was. If you look where the garage wall meets the driveway slab, you can see how far the driveway was separating from the foundation.

Sidewalk Before
Another view of the sidewalk before we lifted and leveled it. The slab was starting to sink so we injected a lightweight material to lift and level it.

Back Patio Slab Before Repair
This homeowner had a back patio that they used for their firepit. You can see how it's sinking down.

After Concrete Repair
A shot of the sidewalk leading up to the front door after we lifted and leveled it using our lightweight fill material.

Concrete Sealant
An up-close look at our sealant in a crack and also in the joints of the slab. This material is highly flexible and dries in no time.

Front Porch After Concrete Repair
To lift and level the front slab, we drilled pea-sized holes into the slab and injected our lightweight lifting material. Looking at the step, you can see the pea-sized holes drilled into the slab below.

Driveway Repair After
A look at the driveway after we repaired it. We used our silicone-based sealant in the cracks and along the joints of the slab. Our sealant withstands harsh weather conditions and drying time is quick, less than 20 minutes.

Job Completed
Another lifted and leveled job well done! This homeowner is thrilled with the results and has more peace of mind knowing there are no tripping hazards around their home.
